
Before you pull a failed linear ball bearing bush, read the evidence on the shaft, the ball track and the seals. This guide walks maintenance teams through four common wear patterns — direction-aligned scoring from contamination, glazing and discoloured ball tracks from lubrication starvation, spalling that points to overload or impact, and the marks left by soft or undersized shafts — plus what to inspect next for each, and the conditions where replacing the bush alone will not solve the cause.
Linear Motion Diagnostics
A failed linear ball bearing bush is a record of what happened to it. Read that record before you order a replacement, because the same wear pattern will return on the new part if the condition that caused it is still in the machine.
Key takeaways
- Wear pattern and position tell you which of four common conditions is most likely: contamination, lubrication starvation, overload or impact, or a shaft problem.
- A pattern is an indicator, not a diagnosis. Confirmation comes from inspecting the shaft and housing, not from the bush alone.
- Some failures cannot be fixed by replacement. Scoring along the travel direction, shaft damage, or broken seal lips mean the new bush will fail the same way.
In this article
Linear bushing failures rarely announce themselves as a single cause. What you find on the bench — bright scratches running the length of the outer ring, a brown tint on the ball track, a flaked crater near one end — narrows the field to a short list of conditions. The point of reading the pattern is to decide what to inspect next, and whether the machine has a problem that a new bearing cannot solve.
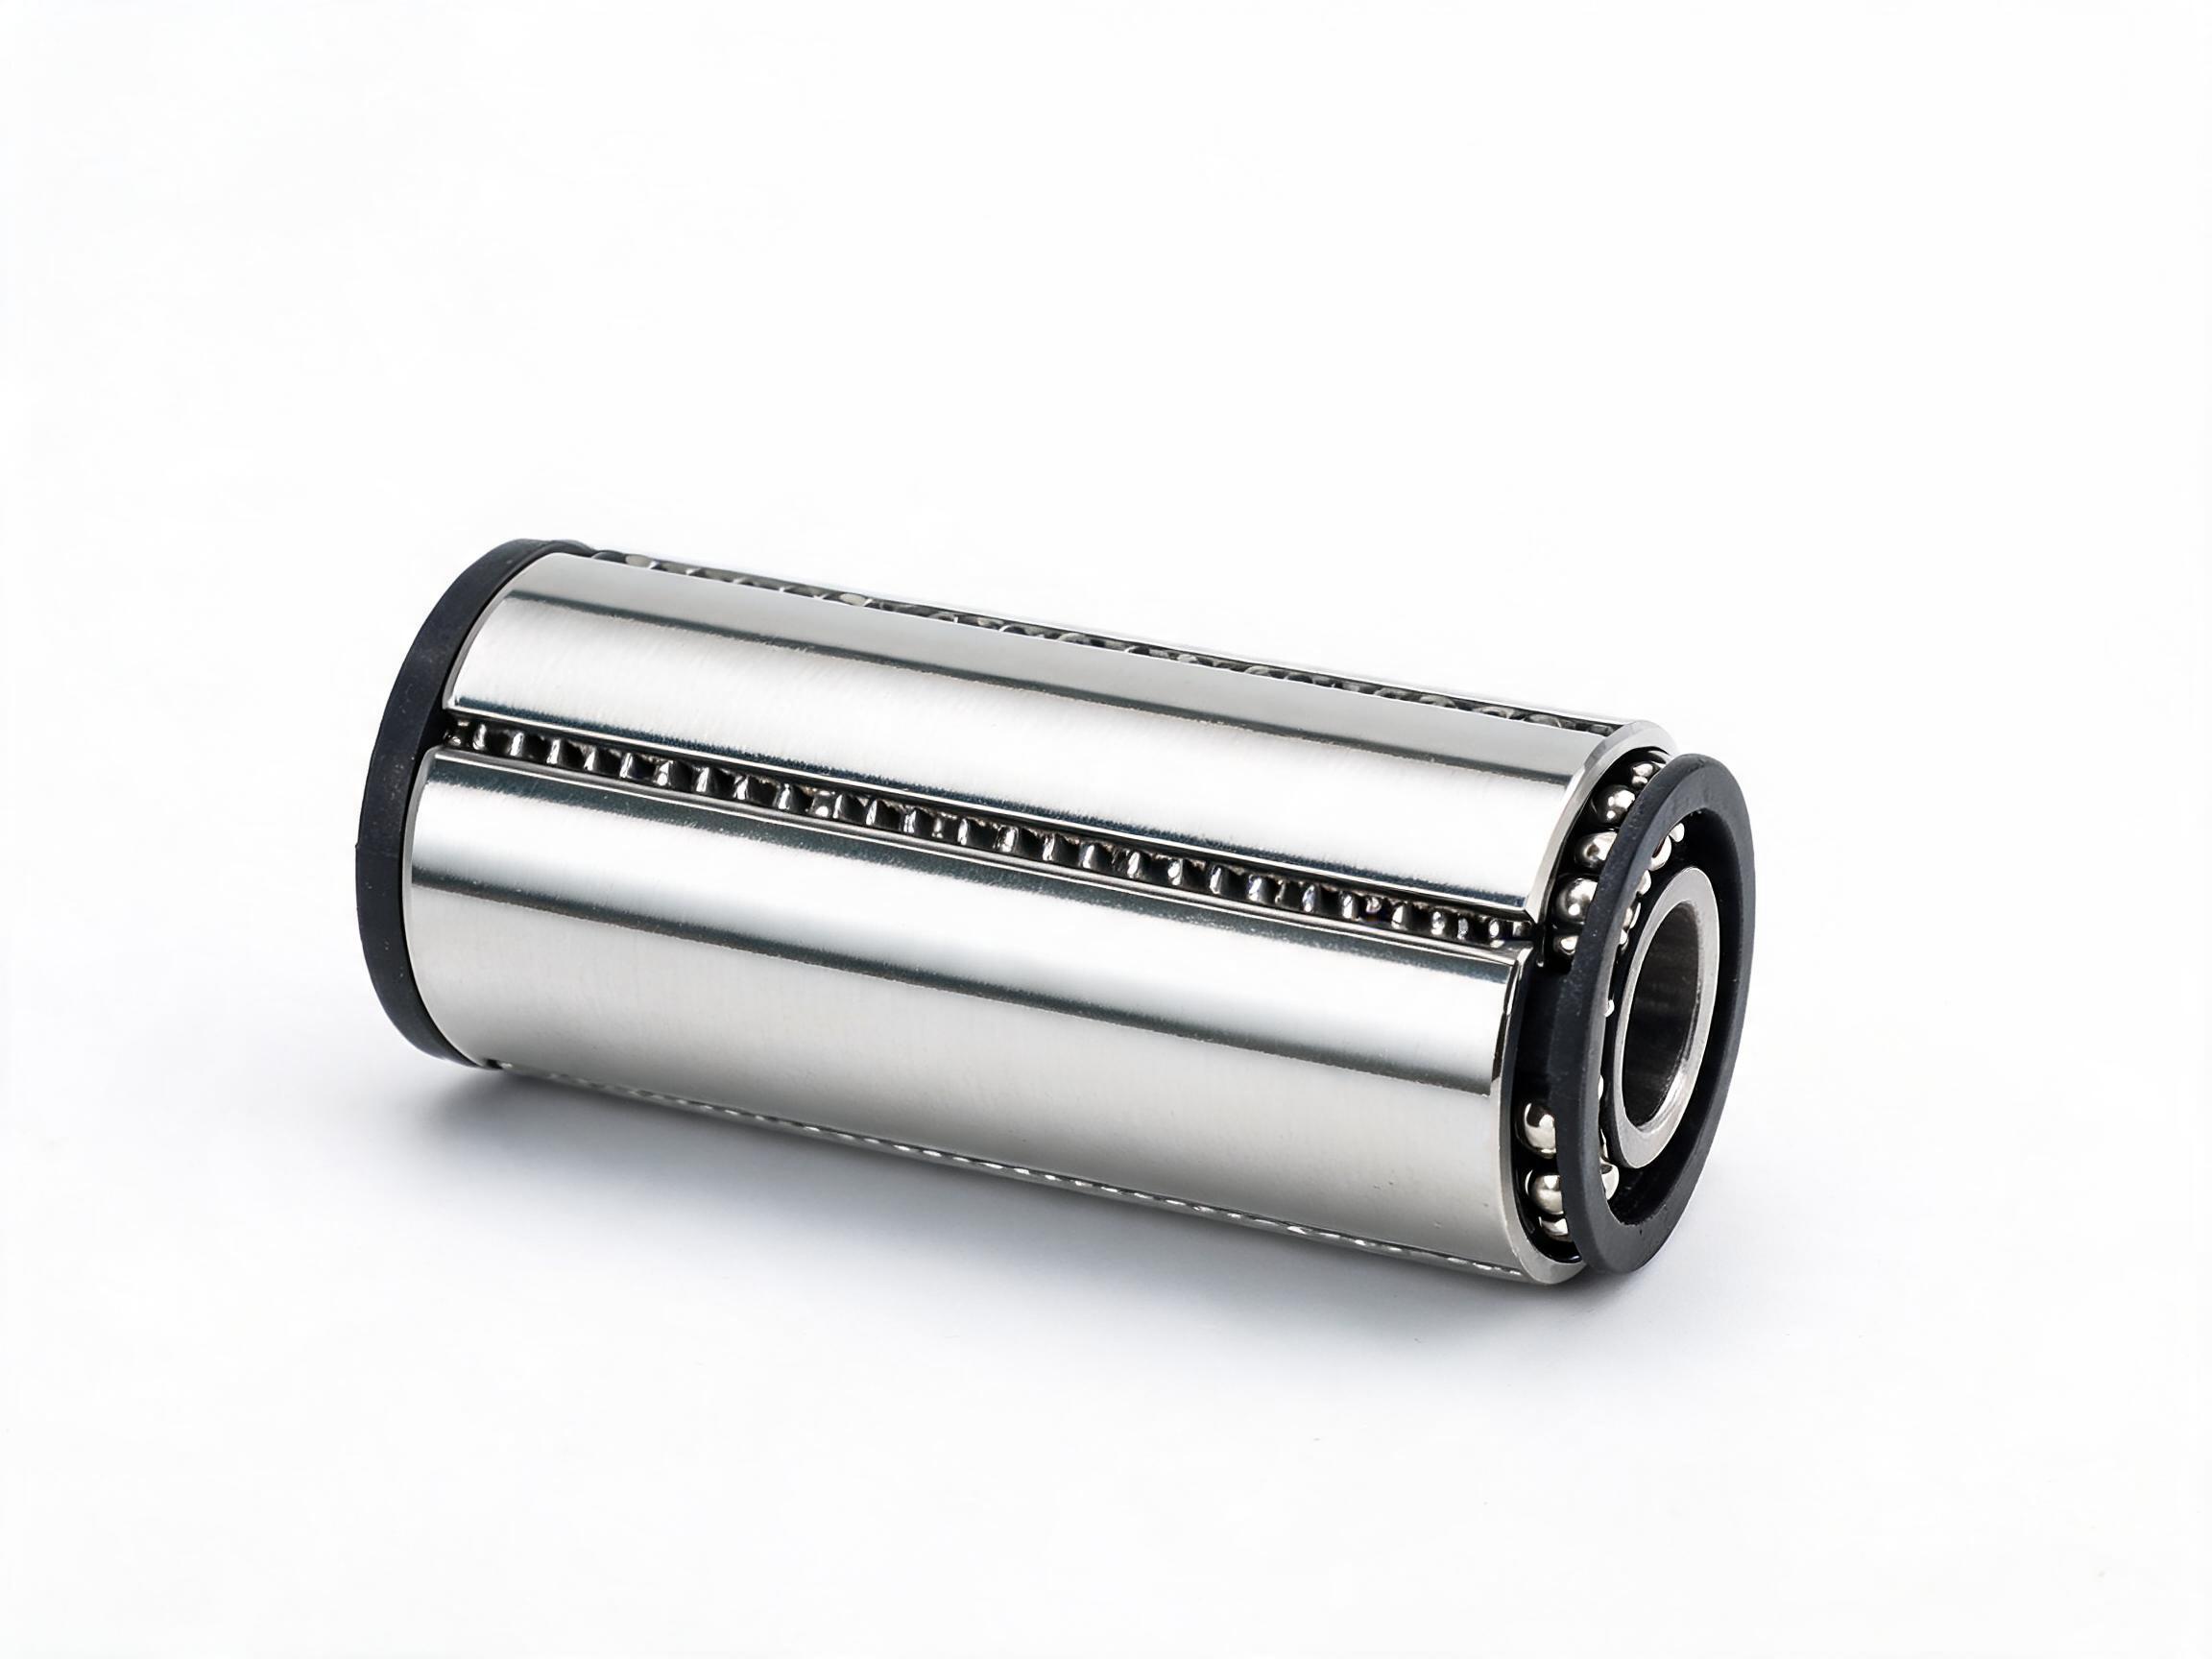
Contamination: scoring along the shaft direction
The most common pattern in dusty, dirty or washdown environments is a set of fine, parallel scratches on the outer ring bore and on the shaft, all running in the direction of travel. The damage aligns with the axis because abrasive particles are dragged along the raceway by the balls rather than rolling through it cleanly.
Look for these companion signs:
- Scratches that concentrate on the loaded side of the ring, where the balls carry the weight.
- Grit or dark paste in the retainer pockets of the PA66-GF glass-fiber retainer.
- Seal lips that are cut, hardened or pushed out of position — once a lip stops wiping, the next particle has a clear path.
- A shaft surface that feels rough under a fingernail along the worn band but smooth outside it.
What to check next: identify where the particles come from. Bellows, wipers, covers or a sealed bearing type may be the fix, but only after you confirm the source. If the machine was specified with an open (OP) type bush in a dusty area, the seal arrangement deserves a review: the LMUU sealed type uses double-lip NBR seals plus a labyrinth groove, which reduces dust ingress compared with an open bush, and the extended sleeve carries 40% more balls, so the same envelope offers a different load picture.
One pattern note is easy to misread. A scratch that is bright and shallow usually means the particle passed through quickly. A scratch that is dark, wide and edged with displaced metal suggests repeated dragging over the same band — usually a seal that stopped working a long time before the failure was reported.
Lubrication starvation: glazing and ball track discoloration
When a linear bushing runs dry, the evidence looks different. Instead of cutting scratches, the raceway takes on a polished, glassy sheen, and the ball tracks pick up a straw, amber or brown tint. The colour is the signal: it indicates the surface has seen enough heat to change, without yet reaching the point of metal transfer.
Accompanying signs include:
- A dry, varnish-like film in the retainer instead of a lubricant film.
- Balls that appear dull or slightly bronzed rather than bright.
- Bluish or grey shading on the outer ring in more advanced cases, where the ring has been running hot.
- Seal lips that are still intact — the seal did its job, but no lubricant was present behind it.
What to check next: confirm the lubrication path and interval before replacing anything. A bush can be starved by a blocked port, an incorrect lubricant that has separated or dried out, an interval that suits the calendar rather than the duty cycle, or a horizontal installation where lubricant migrates away from the loaded zone.
Discoloration also appears after a short, severe event — a single dry run at speed. If the colour is uniform and the rest of the machine is clean, look at recent maintenance history: a missed re-lubrication or a run after reassembly without re-greasing are the usual candidates. If only one end of the bush is discoloured, the lubricant is reaching one side but not the other, which points at the housing or porting rather than the bearing.
Overload and impact: spalling
Spalling shows up as pits, flaking or craters on the ball track, often clustered rather than spread evenly. The outer ring and balls of an LM series bush are GCr15 chrome steel hardened to HRC 60–64, so the surface is not soft — when it flakes, the load or the shock that produced it was outside the bearing's working range.
Where the damage sits matters as much as what it looks like:
- Spalling concentrated on the loaded side, spread over the full travel length, tends to indicate a load or duty-cycle issue rather than a single event.
- Cratering near one end of the travel suggests an impact at that position — a hard stop, a cylinder end stroke, or a jam that transferred shock through the housing.
- Indentations spaced at regular intervals, with no metal loss, are the classic signature of a shock load that pressed the balls into the raceway.
What to check next: review the actual load against the bearing's rating rather than the original design assumption, and look for shock sources in the stroke. For reference, an LM16UU bush is rated at 980 N dynamic; the LMUU sealed extended-length version of the same bore is rated at 1,580 N dynamic and 2,450 N static. Fill in the rest of the machine's duty picture — effective stroke, mounting arrangement, any side loading from misalignment — because a rating compared in isolation will not explain a failure.
Spalling can also follow contamination or starvation. If the track shows both scoring and flaking, treat the flaking as secondary until the shaft and seal condition have been checked.
Shaft hardness and fit: soft or undersized shafts
Some failures leave most of their evidence on the shaft, not the bush. A soft or undersized shaft produces a characteristic combination: the bush is worn broadly across the loaded zone, the shaft shows polishing, a wear step, or a slightly reduced diameter in the travel band, and the fit feels loose in the housing or on the shaft.
Signs to look for:
- A wear step or ridge on the shaft at the ends of the ball travel, where the balls have been running on a smaller effective diameter.
- Polished bands on the shaft that are wider than the ball path, suggesting the shaft has deformed rather than the balls having worn.
- Even, low-level wear across the whole bush rather than concentrated damage — consistent with a shaft that is deflecting under load.
- Loose or spinning outer ring in the housing, which points at a housing fit problem rather than the bearing itself.
What to check next: measure the shaft diameter over the travel band at several points, not just at one position, and check straightness and surface condition. A shaft that is undersized or has lost hardness will keep damaging every replacement bush it touches, so this is the pattern that most often turns a simple reorder into a shaft replacement.
Fits matter here beyond the shaft. LM series bushes follow the JIS B 1185 / ISO 10285 envelope across shaft diameters from 6 to 60 mm, which defines the boundary dimensions but not the housing tolerance your machine was built to. If you cannot confirm the housing bore and shaft tolerance, that measurement is the next thing to make.
When replacement alone will not fix it
The patterns above are indicators. Before ordering, work through a stop list — conditions where a new bush will fail unless the cause is corrected at the same time.
| Stop condition | Why replacement alone fails | What to do first |
|---|---|---|
| Scoring aligned along the shaft direction | Abrasive particles remain in the machine and will re-enter the new bush | Find and remove the contamination source; reassess the seal arrangement |
| Cut, hardened or displaced seal lips | The seal was the barrier in this design; a new bush with the same arrangement will fail the same way | Check the seal and wiper condition, and confirm the correct bearing type for the environment |
| Ball track glazing or discoloration | The lubrication path or interval is unchanged | Verify lubricant type, porting, interval and mounting orientation before reassembly |
| Wear step or reduced diameter on the shaft | The shaft will damage the new bush from the first stroke | Measure the shaft and replace or rework as needed |
| Loose or spinning outer ring in the housing | Housing fit is part of the bearing system | Confirm the housing bore condition and tolerance |
| Spalling concentrated at one end of travel | The impact or end-stop condition is still in the stroke | Check the machine stroke and look for a mechanical stop or jam |
A method for reading the evidence
Reading a wear pattern is a sequence, not a guess. A workable order:
- Photograph and note the position of the damage on the bush before cleaning it — position on the loaded side, on one end, or across the full travel is information that is lost once the part is wiped down.
- Inspect the shaft over the whole travel band, at several points, for scoring, a wear step, discoloration or a diameter change.
- Inspect the seals and check the retainer for grit, dry film or varnish.
- Check the housing for a loose outer ring, fretting marks or contamination.
- Match the observations against the four patterns above, and treat the result as a shortlist of likely causes.
- Confirm by correcting the candidate cause and monitoring the replacement — the pattern that does not return is the one you read correctly.
Final confirmation always comes from the shaft and housing inspection, not from the bush alone. A bush can only show you what happened at the interface; it cannot tell you why.
If you are comparing replacement options for the same shaft size, the LM series linear ball bearing bush covers the standard envelope with closed (UU) and open (OP) types, while the LMUU series sealed extended-length linear bearing uses the seal and ball-count arrangement described above. Which one suits your machine depends on the environment and the load, not on the failure pattern alone.
Wear patterns are indicators. Use them to decide what to inspect next, and confirm the cause with shaft, housing and lubrication checks before closing the work order.