
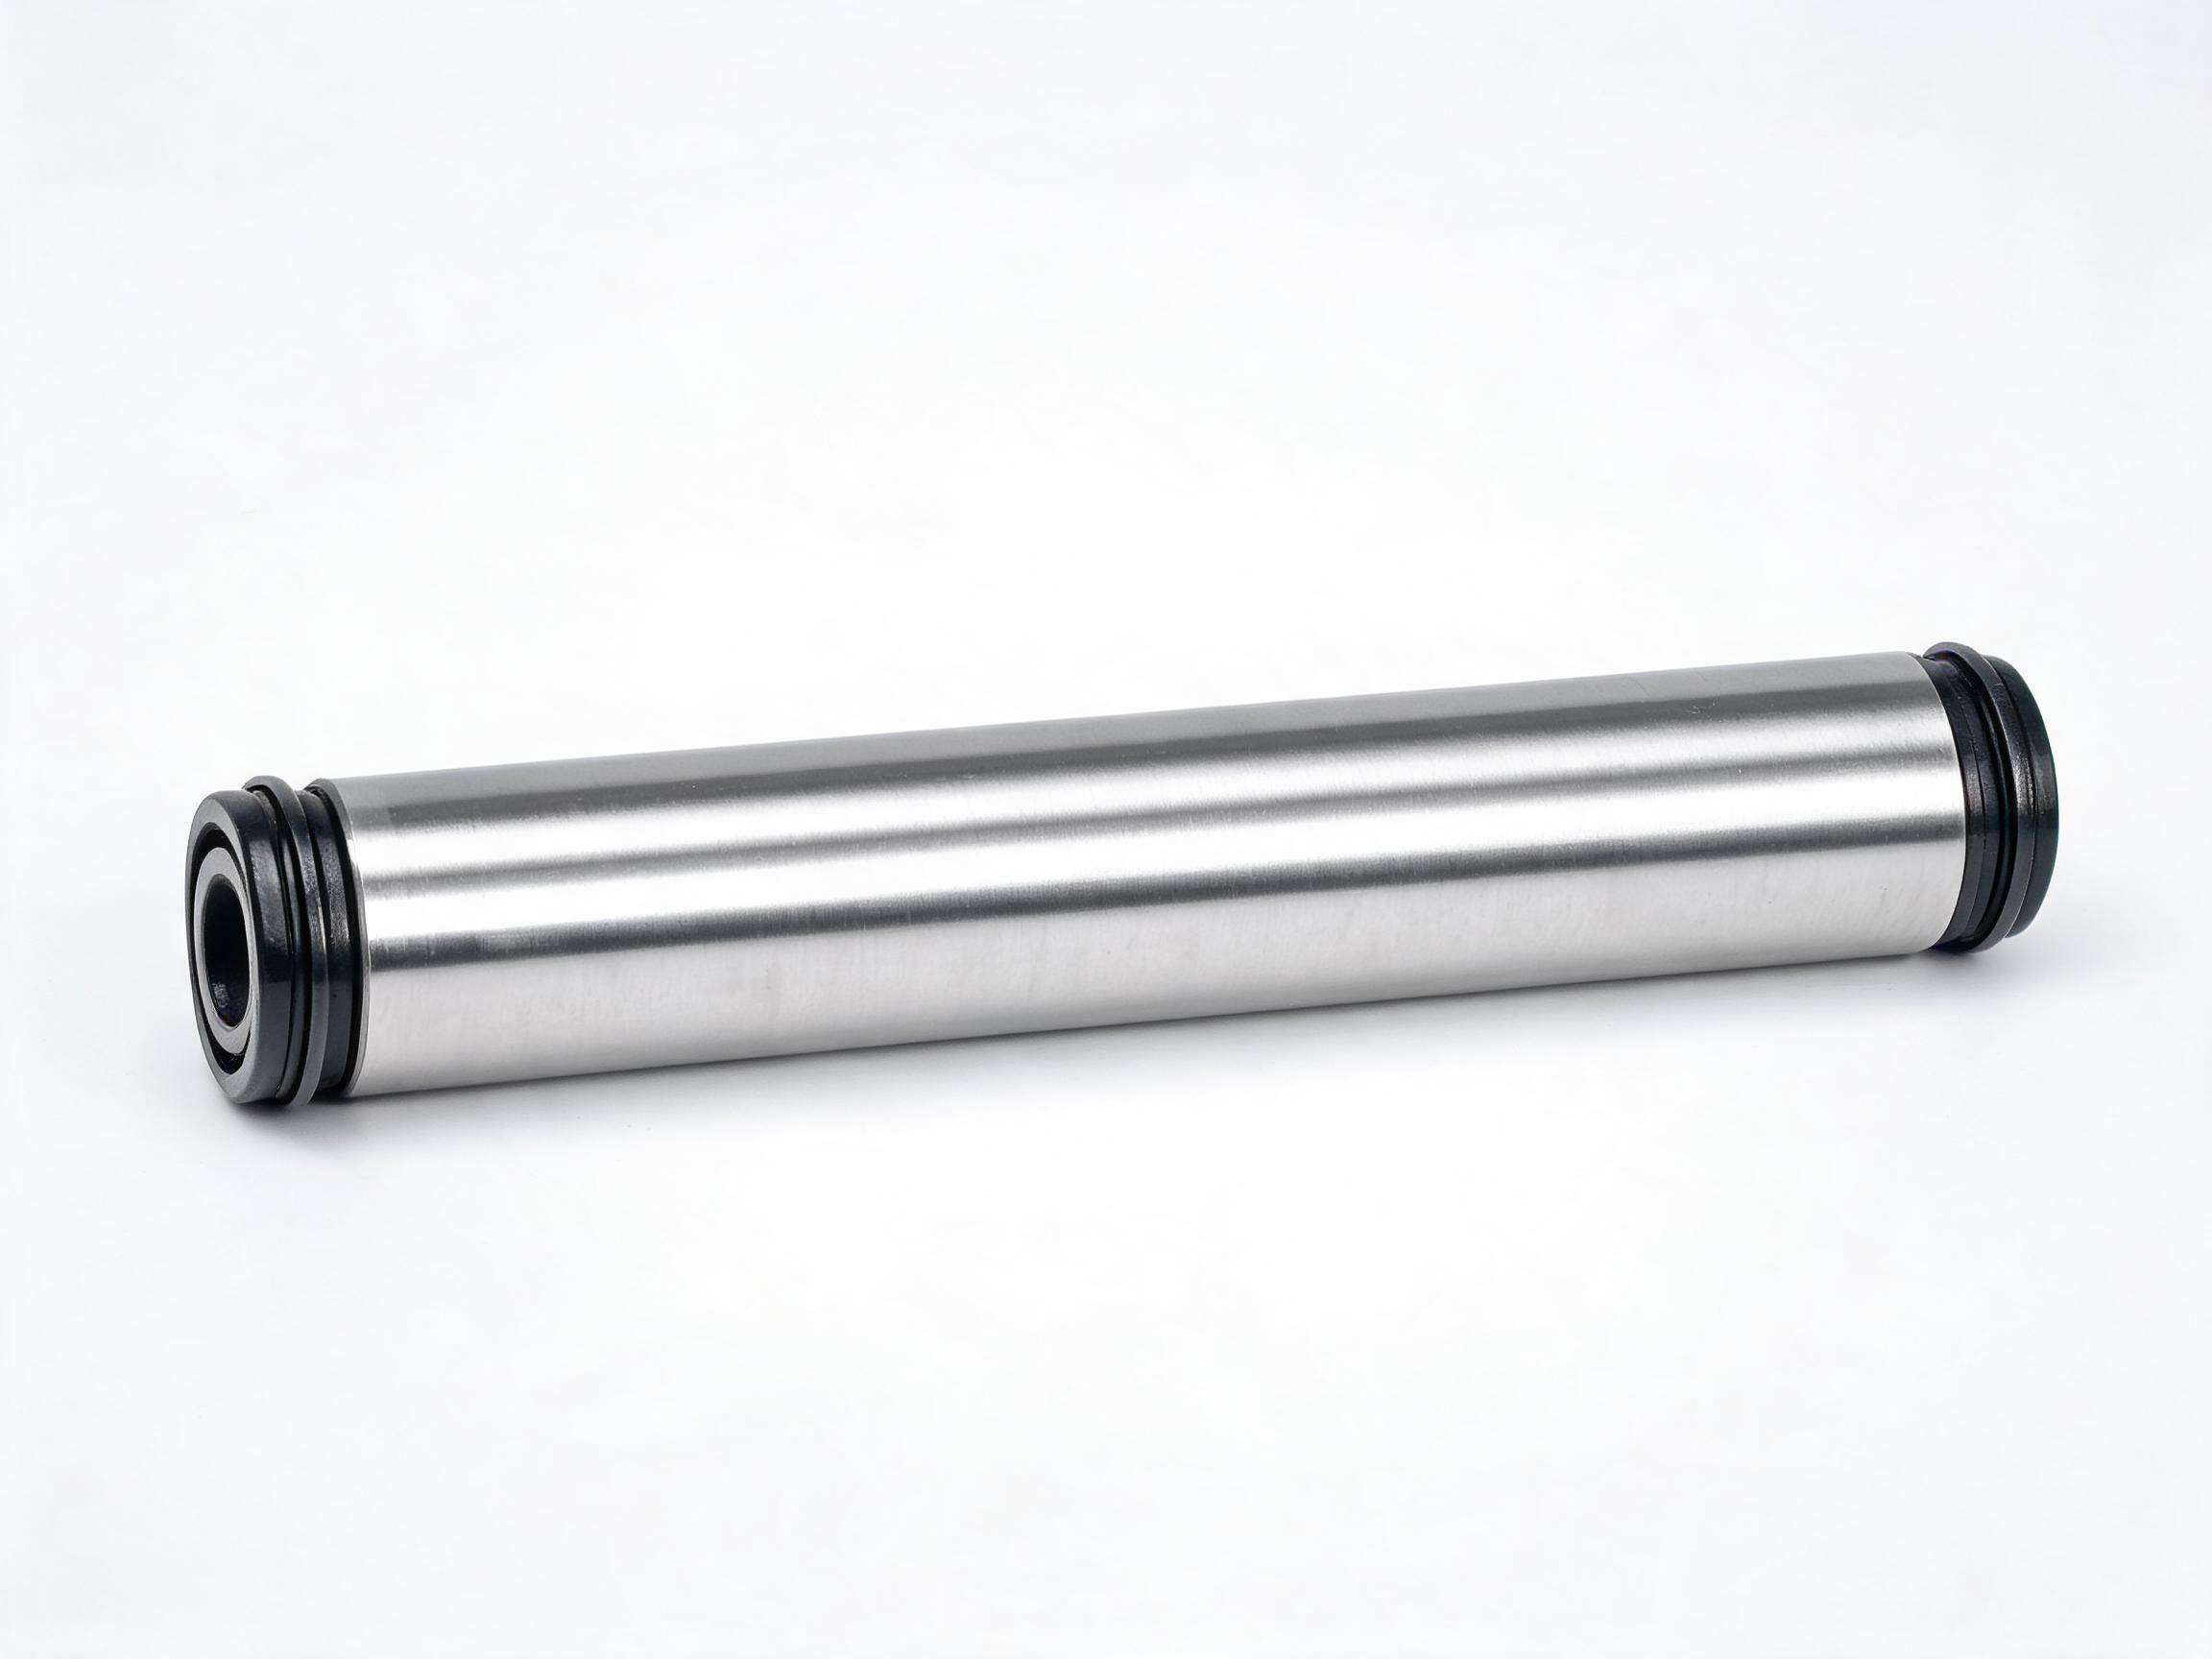
A field-oriented diagnostic sequence for noisy or sticking linear bearings: check contamination, lubrication, shaft condition and alignment, side-loading, and seal condition in that order, then decide repair versus replacement using clear go/no-go criteria. Covers standard LM and sealed LMUU bushings, and how to read the evidence at each step.
Field troubleshooting guide
A linear ball bearing that starts talking — a hiss, a rattle, a graunch — or that suddenly resists motion is telling you where the problem sits. The difficulty is that the same symptoms come out of very different causes. This guide sets an order for the checks, from the most common and cheapest to the least, and ends with a repair-or-replace decision you can make on the bench.
Key takeaways
- Work the checks in sequence: contamination, lubrication, shaft condition and alignment, side-loading, seal condition. Skipping ahead usually means replacing a bearing that was never the cause.
- Noise and stick-slip are different signals. Noise points upstream of the contact; stick-slip means the rolling contact itself has broken down.
- Fouling and dry running are recoverable. Dimpled raceways, shaft scoring and cracked retainers are not.
- Seal condition decides how long the fix lasts — it is the last check in the order, but it is not optional.
Why the order matters
Linear bearing troubleshooting fails most often because the bearing is removed before the shaft is inspected. A scored shaft or a misaligned rail will destroy a new bearing in the same way it destroyed the old one, and the maintenance log then records two failures instead of one cause. The sequence below goes from conditions you can check with the bearing still in place to conditions that require it out of the housing. Contamination comes first because it is the most frequent cause and the easiest to prove; shaft and alignment come third because they explain recurring failures that a simple bearing swap never fixes.
Read the symptom first
Before opening anything, separate the two complaint types. They narrow the list of suspects immediately.
| What you hear or feel | Probable direction | Start at |
|---|---|---|
| Continuous hiss or rubbing, present through the whole stroke | Dirt or dry film between rolling elements and raceway | Step 1, then Step 2 |
| Intermittent tick or knock at one position in the stroke | Localized damage on shaft or raceway — dent, score, corrosion pit | Step 3 |
| Grating or grinding, worse under load | Contact damage already in progress; ball or raceway surface broken down | Step 3, then decision section |
| Bearing binds only when the carriage is loaded sideways | Load direction or mounting geometry | Step 4 |
| Quiet when freshly greased, noisy again within days | Seal integrity or grease loss path | Step 2, then Step 5 |
Step 1 — Contamination and debris
Wipe the exposed shaft with a clean, lint-free cloth and look at what comes off. A grey film is normal service dirt; a dark metallic smear means wear is already producing particles. Then move the carriage slowly by hand and listen for a change in tone as it crosses the dirty zone. If the noise is position-dependent and the position moves when you clean the shaft, contamination is the cause, not the bearing.
Two checks are worth doing in this step:
- Wipe test. Clean a 200–300 mm stretch of shaft, run the carriage across it, then wipe the same stretch again. Fresh debris on the second wipe indicates the bearing is passing material through the seal area.
- Bearing rotation feel. With the bearing off the shaft and held vertically, rotate the inner sleeve slowly. A smooth, faintly detented rotation is normal in an LM Series linear ball bearing bush. A sandy, uneven feel — sometimes called stick-slip — means the balls are running over embedded particles or a dry patch.
If contamination is confirmed and the rotation feel is still smooth after cleaning and re-lubrication, this is a repair case. If the rotation feel stays gritty after cleaning, continue to Step 3 before deciding — the particles may already have damaged the raceway.
Step 2 — Lubrication condition and coverage
Choice of grease is covered elsewhere; this step is about condition and coverage, not brand. Pop one ball retainer row and look at the grease. Fresh grease is uniform in color and slightly tacky. Grease that has turned dark, separated into oil and thickener, or hardened into a varnish is no longer doing its job even if it is present.
Check three things:
- Presence. Is there grease on the ball track, or only in the cavity behind the retainer?
- Distribution. On a long-stroke axis, is the grease still spread along the whole usable travel, or only in the middle where the carriage usually sits? Middle-only grease means the ends of the stroke have been running dry.
- Consistency. Grease that has stiffened with age raises drag and can mimic a mechanical bind.
Re-lubrication is a diagnostic step as well as a repair. Clean the shaft, apply the specified grease, and move the carriage through its full stroke. If noise and drag drop noticeably and stay down over the next operating cycle, lubrication was the root cause. If the improvement disappears within hours, the problem is downstream — go to Step 3.
Step 3 — Shaft condition and alignment
This is the step that most often changes the verdict. Take the bearing off and inspect the shaft as carefully as you inspected the bearing.
- Surface. Look for scoring along the direction of travel, dents from impact or dropped tools, and corrosion pits. Run a fingernail across the suspect area at 90° to the axis; anything that catches is enough to damage balls.
- Straightness and joint steps. On a multi-section shaft, check the joints. A step or a burr at a joint produces a click once per pass, which is often reported as bearing noise.
- Parallelism of twin rails. On a two-rail carriage, measure the center distance at several points along the travel. A rail pair that converges or diverges forces the bearing to fight the geometry, and that shows up as stiffness at one end of the stroke.
- Raceway condition inside the bearing. Hold the bearing to the light and look along the ball track. Fine, even polishing marks are normal. Distinct parallel bands, flaking, or a visible wear step mean contact damage.
If the shaft is scored, pitted, or has a step, replacing the bearing alone will not hold. Correct the shaft first, then fit a new bearing.
Step 4 — Side-loading and mounting
Linear ball bushings are designed primarily for radial load along the shaft axis. Moment load and side load — from an overhung tool, an off-center drive, or a carriage whose center of gravity sits well off the bearing line — raise contact stress and produce exactly the combination of noise and stiffness that looks like wear.
Check the load path before accepting a wear conclusion:
- Is the drive force applied on the bearing axis, or offset from it?
- Does the carriage overhang the support points?
- On a vertical axis, is the bearing taking a moment load in addition to the axial load?
- Are the housing bores aligned with each other, or is the bearing being pinched as it is clamped in?
A quick test: run the carriage with the working load removed. If the noise and drag largely disappear, the bearing itself may be serviceable and the mounting or load arrangement is the problem. If the noise persists unloaded, go back to Step 3.
Step 5 — Seal condition
Seals close the loop on everything above. A damaged seal lets the contamination from Step 1 back in and lets the grease from Step 2 escape, so a correctly diagnosed and repaired bearing will fail again if the seals are ignored.
Inspect the wiper lip for cuts, hardening, and embedding — grit pushed into the lip turns it into a slow abrasive tool. UU-type double rubber seals are designed to prevent grease escape and dust entry, which extends maintenance intervals. Where the duty cycle or the environment justifies it, an LMUU Series sealed extended-length linear bearing uses double seals and an extended length compared with a standard LM bearing. The extended length spreads the ball rows over a longer contact area and gives the seals more body to work with, which suits long-stroke or dirty applications.
Repair or replace: go/no-go criteria
Once the sequence is complete, the decision usually falls out of the evidence. The table below maps the finding to the action.
| Finding | Verdict | Action |
|---|---|---|
| Contamination only; rotation feel smooth after cleaning | Go — repair | Clean, re-grease, restore the seal path, re-fit |
| Dry or degraded grease; no surface damage found | Go — repair | Re-lubricate to the specified grease and confirm full-stroke coverage |
| Faint but even polishing marks on the ball track | Go — monitor | Re-fit, re-check rotation feel at the next service interval |
| Visible wear bands, flaking, or a step on the ball track | No-go — replace | Replace the bearing; inspect the shaft before fitting |
| Dimpled or scored shaft, or a step at a shaft joint | No-go — replace bearing, correct shaft | Refinish or replace the shaft, otherwise the new bearing repeats the failure |
| Cracked or deformed ball retainer | No-go — replace | Replace the bearing and check for over-travel or impact in the axis |
| Noise disappears when the working load is removed | Replace not indicated | Redesign or re-shim the load path; re-check alignment |
| Seals hardened, cut, or embedded with grit | Replace seal path | Use a sealed bearing type appropriate to the environment |
Two rules keep this honest. First, a bearing that passes the contamination and lubrication checks but still binds under load is a geometry problem, not a bearing problem — replacing it changes nothing. Second, any bearing that has been run dry long enough to produce visible raceway bands has already lost contact geometry; re-greasing may quiet it temporarily but it will come back.
Standard LM bushings use GCr15 chrome steel for the outer ring and balls, with a PA66-GF retainer family. That construction handles the normal radial duty of a linear axis well; the failure modes in this guide are almost always environmental or mounting-related rather than material-related.
FAQ
Can I diagnose a linear bearing without removing it from the housing?
Steps 1, 2, 4 and 5 are all reachable with the bearing installed. Step 3 — shaft condition and alignment — and the raceway inspection generally require removal. If the first two steps produce no change, plan for the removal.
The bearing is quiet after re-greasing but noisy again within a shift. Why?
Grease that disappears quickly is usually leaving through a worn seal lip or being pushed out by a contaminated track. Complete Step 5 and check the shaft surface before assuming the bearing is worn out.
Is stick-slip the same as a worn bearing?
No. Stick-slip is a friction signature — the rolling contact is being forced to slide, typically from dry running, contamination, or excess side load. It can occur in a bearing with no measurable wear. Confirm with the wipe test and the loaded/unloaded comparison before replacing parts.
Should I switch to a sealed bearing type?
If the same axis has failed more than once from contamination or grease loss, a sealed type such as an LMUU double-seal bearing is worth evaluating. If the environment is clean, sealed and open types both work and the choice comes down to maintenance access and interval requirements.
Need to match a bearing type to the axis conditions you found? Send the shaft diameter, travel length, load direction and environment. DFL offers free technical selection support, full inspection documentation with each shipment, and a 24-month warranty on its linear bearing products.