
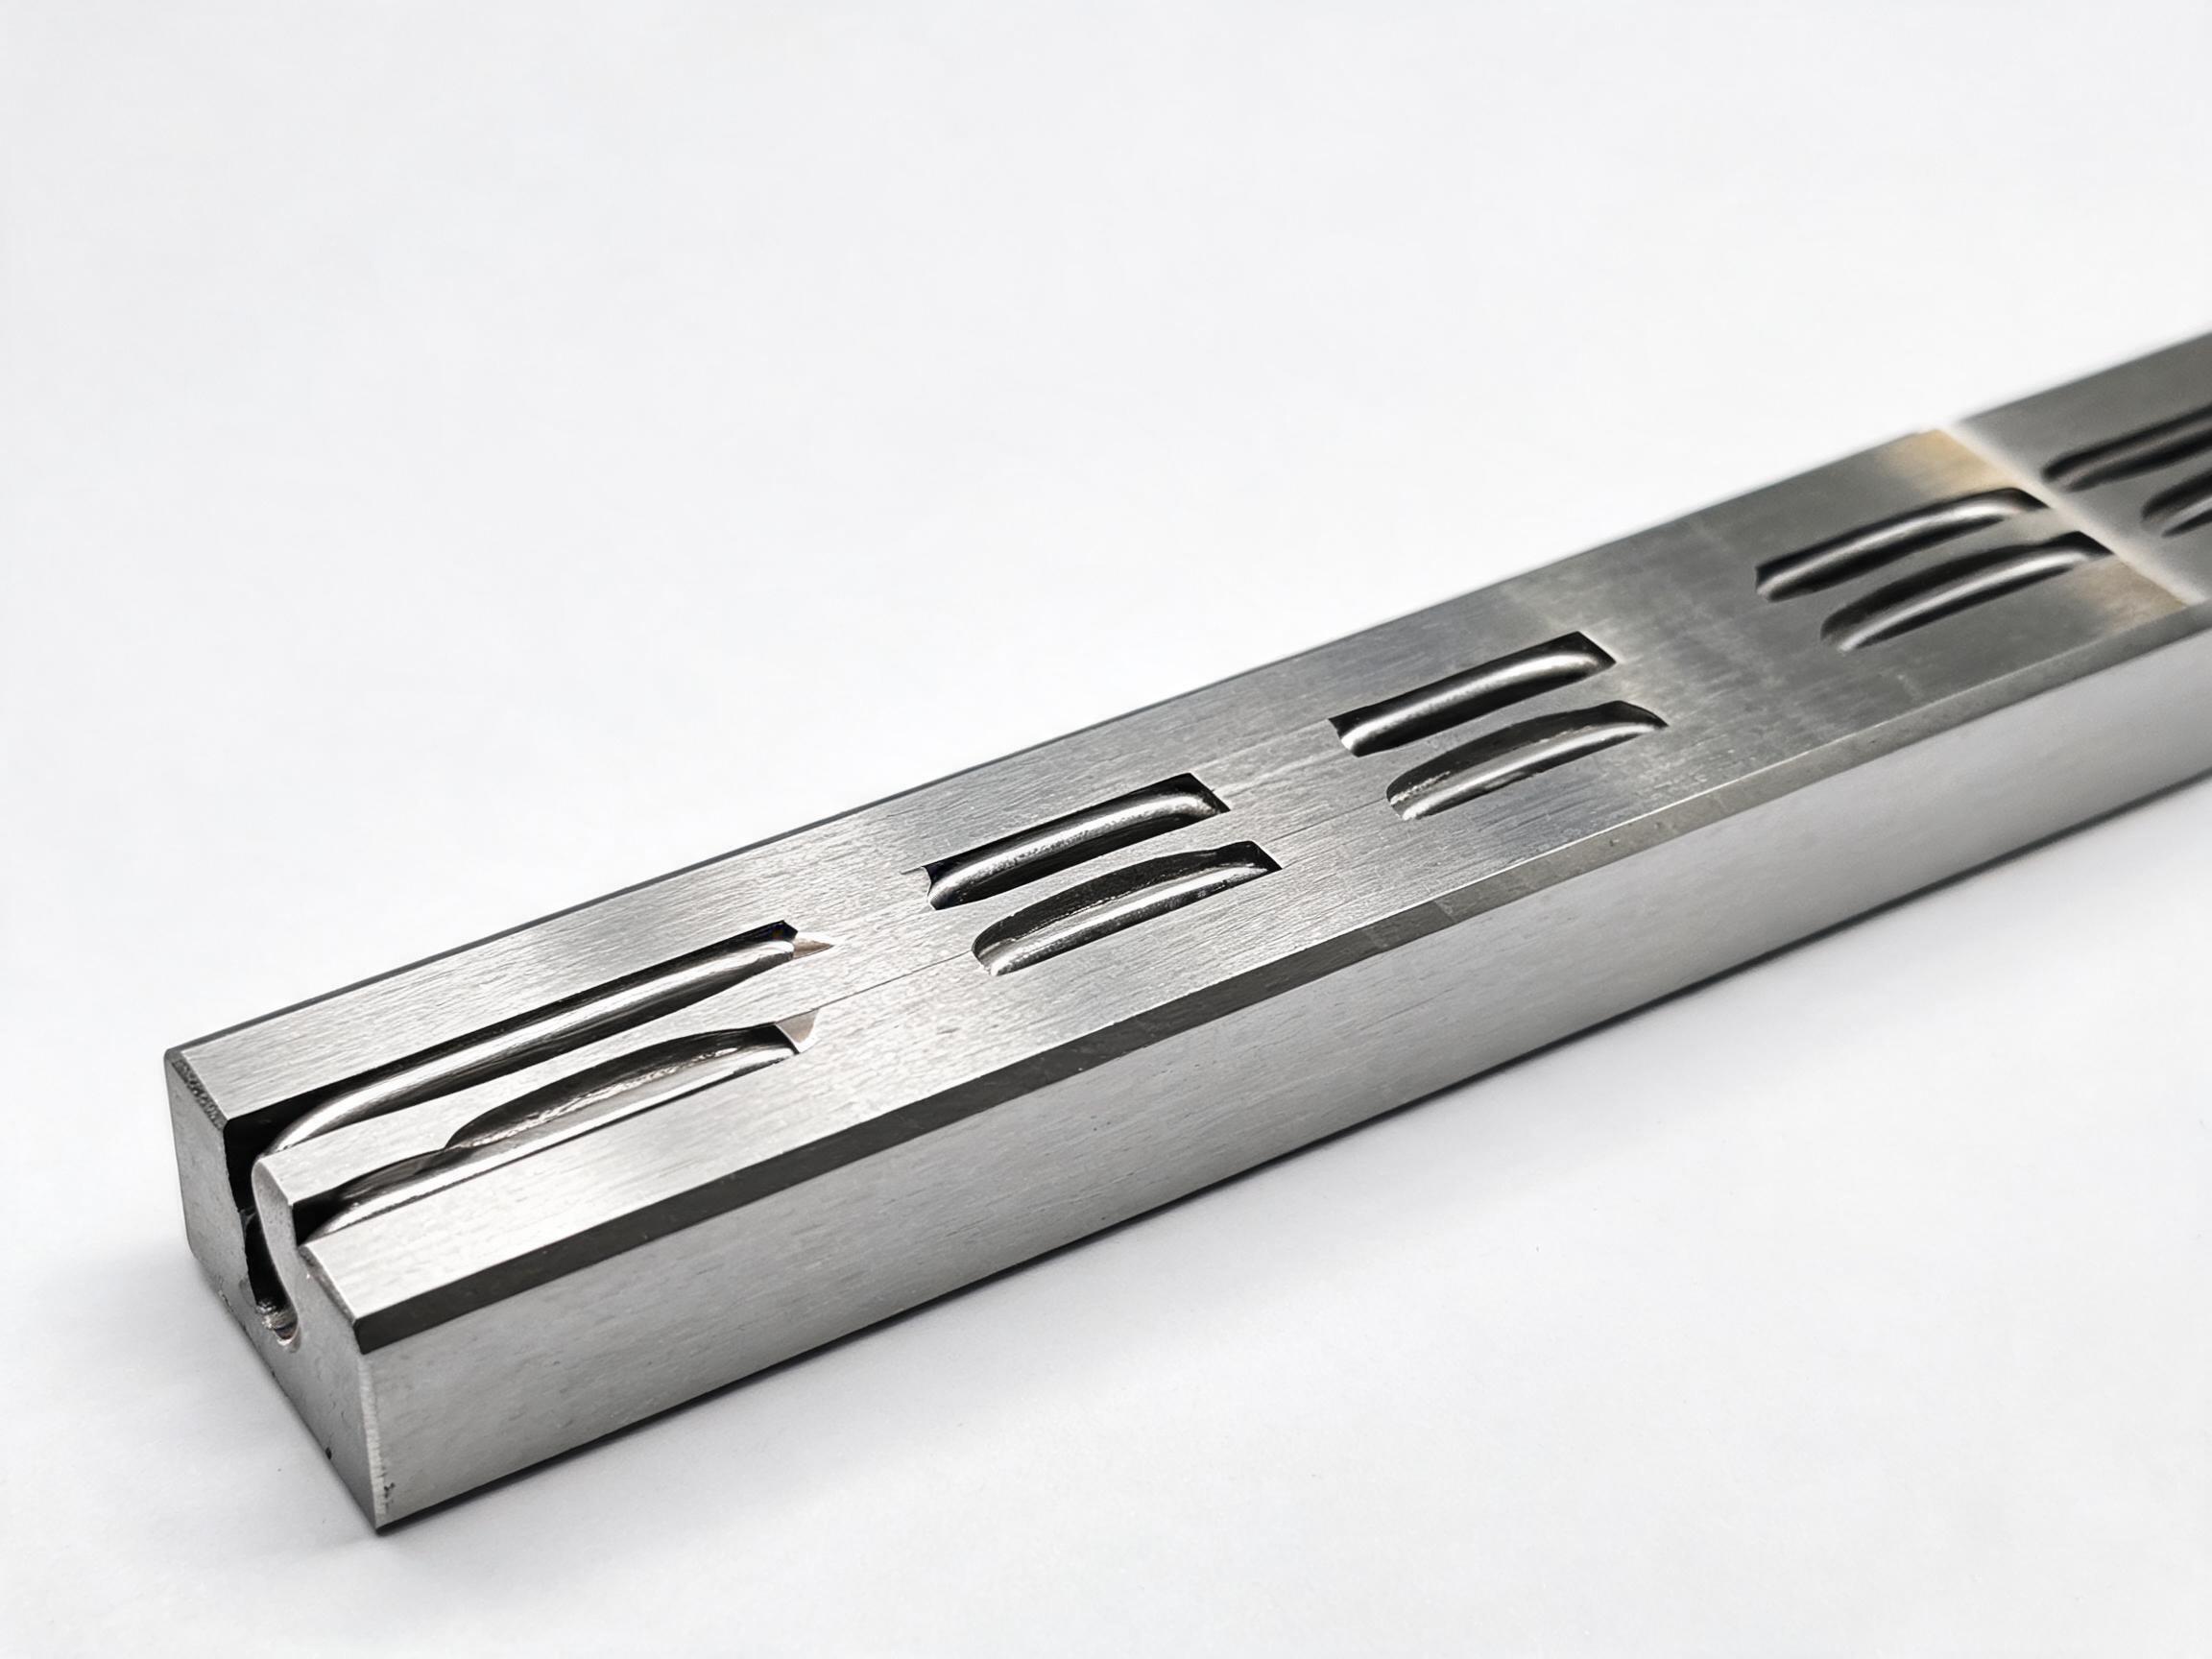
A practical incoming-inspection sequence for profile rails and carriages: what to look at on arrival, which dimensions to verify against the drawing, how to read parallelism grades, and which documents to hold before installation begins.
Rails and carriages are checked before they go onto the machine, not after. This sequence starts with the packaging and rust check, then moves to dimensions against your drawing, running parallelism by grade, carriage pairing, and the paperwork you should file.
Why the arrival check decides the rest of the project
A guide rail is a datum. Once a carriage runs on a rail that is bent, mismatched or fitted to the wrong bolt pattern, the fault appears later as vibration, uneven torque on the drive, or a carriage that wears on one side. At that point the problem looks like a machine problem, and the rail is already bolted down. Checking on arrival keeps the evidence clean and keeps the conversation with the supplier factual.
The checks below apply to profile rails and their carriages. A full bearing inspection report is a different document with a different purpose; this one is about what you physically receive on a pallet.
Step 1: Packaging and rust condition
Before you open anything
- Photograph each crate or carton, the label, and any damage to the outer layer. Note seal condition, strapping, and whether the rail ends were protected.
- Check the shipment quantity against the packing list and against your purchase order line items.
- Look for signs of moisture: damp wrapping, condensation under film, water staining on the crate floor.
After opening
- Unwrap on a clean bench, not on the shop floor. Keep the protective oil on the raceway until the rail is ready to mount.
- Scan the full length of each rail for rust, especially the raceway grooves, the end faces and the mounting holes. Rust on a raceway is a rejection item, not something to polish out.
- Check the rail for straightness damage in transit: dents on the ends, burrs on mounting holes, bends visible against a straight edge.
- Keep carriages in their shipping sleeves until mounting. Slide them off only on a rail or a dummy rail of the same size.
If the goods show moisture or rust at this stage, stop and document it before doing anything else. A claim made after installation is much harder to support.
Step 2: Dimensional checks against the drawing
The dimension check is not a full metrology session; it is a confirmation that the delivered part matches the part you ordered. Work from the order drawing, not from a general catalog page, because bolt pitch, rail length and end-hole position are order-specific.
- Rail length and end treatment. Measure overall length and check whether the ends are cut square and deburred as specified. Confirm that the number of mounting holes matches the drawing.
- Mounting hole pitch. Measure the pitch between holes, and the position of the first and last hole from the rail end. Confirm both values against the order drawing.
- Section dimensions. Measure rail width and height at several points along the length, away from the ends, and compare with the drawing's nominal values and tolerances.
- Hole counterbore and depth. Check that bolt heads sit below the rail surface as the drawing requires.
- Carriage interface. Measure carriage height and mounting hole pattern against the same drawing, and confirm the carriage size code matches the rail size.
For the HGR series, the rail range covers sizes 15 to 45 with a maximum standard length of 4000 mm, so long rails should be checked at more than one point along the length rather than only at the ends. Datasheet values for section dimensions and hole positions should be read from the current HGR series heavy-duty linear guideway rail page and from your order drawing.
Step 3: Running parallelism and grade verification
Running parallelism is the property buyers most often assume rather than verify. It is quoted per unit of length. How a per-length figure applies to a longer rail — segment by segment or over the full length — is defined by the datasheet; where it is not defined, ask the supplier in writing before you measure.
Two points matter before you measure:
- Which grade did you pay for? HGR series rails are offered in ground H/P5 or rolled N/P7 grade. The grade on the label and on the inspection document must match the grade on the purchase order.
- What does the grade mean numerically? The grade values we can quote here are the MGN12 ones: standard grade running parallelism is approximately 0.02 mm/300 mm, and P grade is 0.01 mm/300 mm or better — do not transfer these to another series. HGR rails carry the grade names above, but the numeric tolerance for your size and length is not listed in this article; take it from the current datasheet and your order drawing before you set an accept/reject limit. A measurement method that cannot resolve the tolerance you are claiming to verify does not verify the grade.
Practical approach: seat the rail on a reference surface with the specified support, mount a dial indicator on the carriage, and traverse the full stroke. Record the reading over each 300 mm segment and at the ends, then compare the worst segment against the grade tolerance on the basis the datasheet defines. If the datasheet does not define how the tolerance applies across a longer rail, confirm the acceptance basis with the supplier in writing before judging. Record the reference surface and the indicator setup alongside the readings, because a parallelism number without its measurement conditions is not evidence.
| Check | What it confirms | Where to find the target |
|---|---|---|
| Packaging and rust | Goods arrived in mountable condition | Photo record plus order documents |
| Length, hole pitch, section | Rail matches the ordered part | Order drawing and datasheet |
| Running parallelism | Grade paid for is the grade delivered | Datasheet grade figure on the basis the datasheet defines |
| Carriage matching | Correct pair, preload and clearance as ordered | Carriage marking and order line |
| Documentation | Traceability for later claims or service | Inspection record and packing list |
Parallelism targets quoted in this article are the listed grade values for MGN12 only; HGR grade selection follows the ground H/P5 or rolled N/P7 option, and the applicable tolerance for your specific size and length comes from the current datasheet and order drawing. Confirm it before you set an accept/reject limit.
Step 4: Matched carriages and preload
Carriages are not always interchangeable across a shipment, and mixing them can change preload and clearance in ways that only show up as inconsistent drag or play. Check:
- Each carriage is marked with a size code and, where applicable, a matching identifier that ties it to a specific rail or set.
- The number of carriages per rail matches the order; do not accept a short shipment on the assumption that spares will follow.
- Carriages slide smoothly on their paired rail without binding at any point along the stroke, and without noticeable side play. Run each carriage the full length rather than only a short section.
- End seals and wipers are present and undamaged. MGN12 ships with end seals as standard, so a missing seal is a visible discrepancy on arrival.
If the order specifies matched sets or a particular preload class, verify the marking against the order line before the carriages leave the inspection bench. Where the ordering information does not define carriage matching, confirm the intended pairing rule with the supplier in writing.
Step 5: Documentation to hold
Keep paperwork with the physical goods. The useful set is small:
- Packing list and commercial invoice matching the delivered quantity.
- Order drawing revision actually manufactured, not an older revision.
- Inspection record showing grade, dimensions checked and parallelism results, with the measurement conditions noted.
- Material identification for the rail and carriage, where the supplier provides it. HGR rails use 55# steel with induction-hardened raceways at 58–62 HRC; MGN12 uses 9Cr18Mo stainless as standard. Check that the delivery documents agree with what was ordered.
- Your own arrival inspection record: photos, measured values, and the name of the person who signed off.
File these together. If a rail fails later, the arrival record is what makes the conversation about a specific delivered part rather than a general complaint.
When to stop and raise it in writing
Do not install a rail while an open question remains. Raise it in writing, with photos and measured values, if you find rust on a raceway, a hole pattern that does not match the drawing, a grade marking that conflicts with the order, missing or mismatched carriages, or parallelism readings outside the grade tolerance. Marking the goods as quarantined keeps them out of the assembly line while the question is resolved.
For stainless miniature rails, the MGN12 linear rail page lists the grade options and standard seal configuration referenced above. Section dimensions, bolt pitch and splice requirements always come from the order drawing.
FAQ
Can I check running parallelism without a granite surface plate?
You can check that a rail is not grossly bent using a straight edge, but you cannot verify a 0.02 mm/300 mm or 0.01 mm/300 mm grade that way. Grade verification needs a reference surface and an indicator setup capable of resolving the tolerance you are claiming to measure.
Should I remove the protective oil before inspection?
No. Wipe only enough to see the raceway surface. Removing the protective oil from the full rail exposes it to rust before mounting.
What if the rail length is correct but the number of holes is not?
Treat it as a dimensional non-conformance against the order drawing. Record the measured hole count and positions and raise it before installation, since the mounting pattern on the machine will not accept a different hole layout.
Is a visual check enough for carriages?
No. Carriages need a functional check: full-stroke travel on their paired rail, seal condition, and a comparison of markings against the order. A carriage that binds at one end of the stroke may be a rail issue rather than a carriage issue, so check both together.
Do I need to record measurement conditions?
Yes. A parallelism figure is only meaningful with the reference surface, indicator setup, segment length and ambient conditions noted. Keep that record with the inspection sheet.