
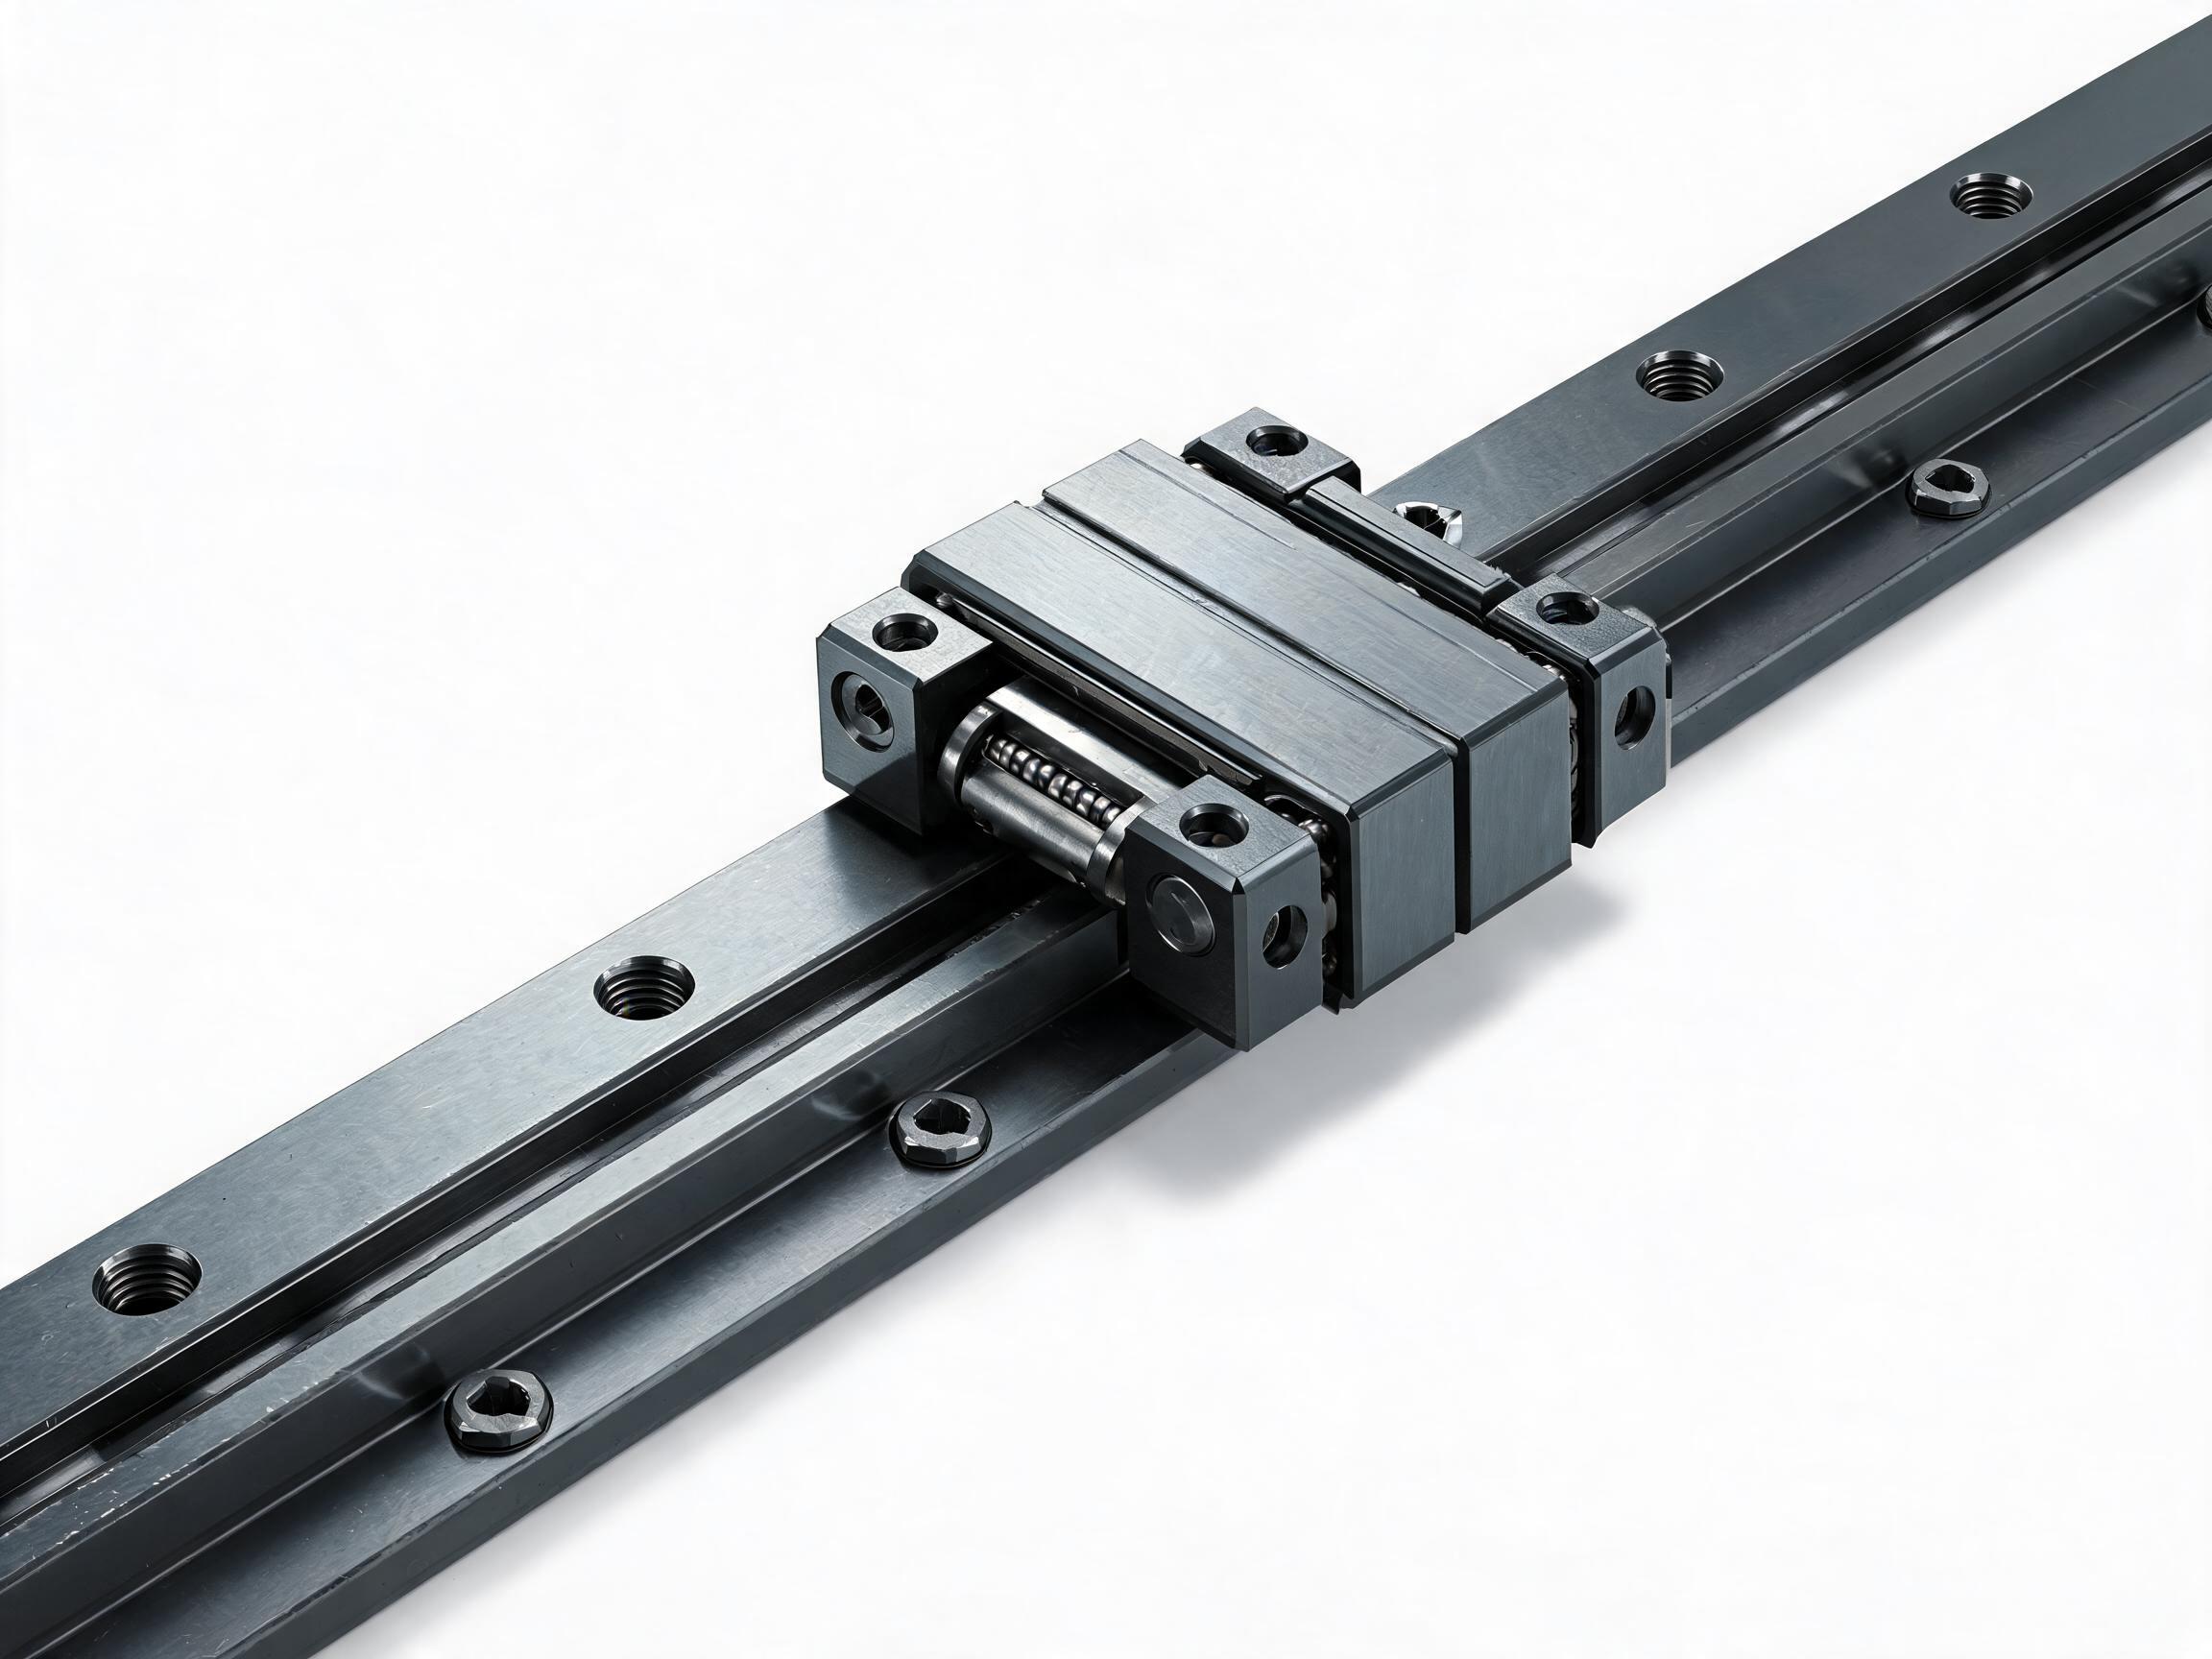
A practical maintenance checklist for plant engineers: what to inspect on linear guide rails and carriages, how environment and duty cycle change the interval, how lubrication fits into the routine, and the signs that a rail is due for replacement.
A linear guide rail rarely fails all at once. It wears, it gets contaminated, it loses preload, and one morning the axis starts to chatter or a finished surface comes out off tolerance. Almost everything that leads to that point is visible or measurable long before it happens, provided somebody is actually checking. This checklist covers what maintaining linear guide rails and carriages involves, how to decide how often to look, and what to write down so the next decision is based on records rather than memory.
Key takeaways
- The routine is inspection and record-keeping, not just greasing. Five items cover most of it: rail surface, ball circulation, seals and wipers, mounting bolts, and contamination.
- There is no single correct interval. Environment, speed, load and duty cycle set the frequency; the supplier's manual and datasheet set the reference values.
- Lubrication belongs in the routine as a scheduled check — condition and quantity, not only pumping grease through the nipple.
- Record what you found, not just that you visited. Trends in the log drive replacement decisions.
What the routine actually contains
Maintenance on a linear guideway system splits into watch items and service items. Watch items are non-intrusive: you look, listen, wipe and feel. Service items change something — cleaning, re-lubricating, re-tightening, replacing a wiper. Do the watch items every visit; do the service items when a watch item says so.
1. Rail surface
Wipe a short section of each rail with a clean, lint-free cloth and look at what comes off and what is left behind. On the raceway you are checking for three things:
- Scoring or a dull, matte band running along the load zone, which suggests debris has passed under the carriage or lubrication has been inadequate.
- Discolouration or varnish on the raceway, often a sign of lubricant breakdown rather than wear.
- Indentations, typically from impact or from a stalled carriage left loaded in one spot.
The rail itself is usually through-hardened and ground, so light surface marks are not automatically a replacement trigger. What matters is whether the mark is in the ball contact path and whether it is growing between inspections. Note the position along the rail — the same spot returning is a different problem from scattered marks.
2. Ball circulation smoothness
With the axis powered down and safe to move by hand, stroke the carriage slowly through its travel. You are listening and feeling for:
- Regular clicking or a repeating knock at the same stroke position — often a damaged ball or a rough spot in the recirculation path.
- A gritty feel that changes with direction, which usually points to contamination rather than ball damage.
- Sudden free movement or a slack feel in one zone, which can indicate loss of preload or internal damage.
Do not dismantle a carriage to look inside as part of routine maintenance. Recirculation components are factory-assembled, and pulling a carriage off its rail without the proper insertion tool can scatter the ball set. Confirm the manufacturer's removal procedure before any carriage is taken off.
3. Seals and wipers
The end seals and side wipers are the cheapest part of the system and the most important to the rail's life. Check each one for:
- A visible gap between the wiper lip and the rail.
- Hardening, cracking or a lip that has curled away from the surface.
- Metal chips or swarf embedded in the lip, which will score the rail on every stroke.
A worn wiper passes contamination straight into the ball path. Replace rather than clean-and-hope when the lip no longer wipes the rail dry.
4. Mounting bolts and rail seating
Check the rail mounting bolts and the carriage block bolts for loosening. A loose rail bolt shows up as a small fretting mark or rust bloom around the bolt head and as a change in the sound of the axis under load. Do not simply tighten to whatever feels right — the tightening torque for the bolt class and rail size belongs to the supplier's manual, and over-torquing can distort the rail.
Also check that the rail is still seated flat against its reference surface. On a machine that has taken a knock or been re-levelled, a gap under the rail alters alignment and preload, and no amount of greasing will fix it.
5. Contamination sources
Most rail problems begin upstream of the rail. Walk the machine and look for:
- Coolant or cutting fluid running onto the rail rather than away from it.
- Damaged bellows, way covers or telescopic guards.
- Chip accumulation behind the rail that the wiper cannot clear.
- Airborne dust from grinding, sanding or composite machining near an open guideway.
Fixing a torn cover is maintenance. Replacing scored rails every year because the cover was never fixed is a cost problem.
How often: let the conditions set the interval
Buyers often ask for a single number — every month, every quarter. That number does not exist in isolation, because two identical rails on two machines can need attention at very different rates. Build the interval from these factors:
| Factor | What it changes | What to look at first |
|---|---|---|
| Environment | Dust, chips, coolant, humidity and ambient temperature all affect how fast the rail and seals deteriorate. | Seals, wipers and the rails in the dirtiest zone |
| Duty cycle | Continuous multi-shift running accumulates travel distance far faster than occasional positioning. | Ball circulation feel and raceway condition |
| Speed and acceleration | High speed and hard reversals load the recirculation path more heavily. | Noise at direction changes |
| Load and overhang | Off-centre or heavy loads raise contact stress and can shift preload. | Slack or play at the carriage |
| Lubrication method | Manual greasing, automatic lubricators and oil systems each need their own check rhythm. | Lubricant condition and quantity |
Use this table to shorten or lengthen the interval, then confirm the actual figures — grease quantity, re-lubrication points, torque values — in the supplier's manual and datasheet for your specific rail and carriage size.
In practice, the interval is usually found rather than calculated. Start with a short interval in a demanding cell — heavy chip load, wet coolant, long shifts — and inspect the same rails at the end of it. If the rails are clean and the seals intact, stretch the interval. If you find embedded swarf at the first check, shorten it and fix the cover first.
Where lubrication fits — and where it does not
Grease through a nipple is a delivery method, not a maintenance plan. The routine question is whether the right lubricant is reaching the ball path in the right condition. Check:
- Whether lubricant is present at the carriage faces, not just at the fitting. A blocked gallery can accept grease at the nipple and deliver none to the balls.
- Condition: darkened, hardened or separated grease, or grease mixed with chips, is worse than less grease.
- Mixing: some grease thickeners do not combine well. Keep a record of what has been used so a new lubricant is not layered over an incompatible one.
- Automatic systems: confirm the reservoir is actually feeding; a pump running with a blocked line looks normal from the panel.
The exact re-lubrication quantity and interval come from the datasheet. If the operating conditions differ from the datasheet's reference conditions, ask the supplier which adjustment applies.
When a rail or carriage is due for replacement
Replacement is a judgement, but it should be a judgement made on evidence collected over several inspections. Indicators worth acting on:
- Preload loss that shows as play or as a change in machining or positioning accuracy, confirmed by measurement rather than feel.
- A repeating knock at the same stroke position that persists after cleaning and re-lubrication.
- Raceway scoring that is measurably deepening between inspections.
- A wiper channel that has been damaged so many times the seal can no longer protect the ball path.
- Corrosion pitting in the ball contact zone, which cannot be polished out without changing geometry.
Surface marks outside the load path are not, on their own, a replacement reason. The decision belongs with whoever owns the accuracy requirement and has the inspection history — which is why the log matters more than any single reading.
What to record
A maintenance log that only says “lubricated” is nearly useless. Record the things that let you see a trend:
- Date, machine and axis, plus which rails were inspected.
- Travel position of any mark or noise, so it can be compared next time.
- Lubricant type and quantity added, and the method used.
- Seal and wiper condition, with replacement noted.
- Any bolt tightened, and to what reference value.
- Changes upstream — new coolant, a damaged cover, a change in running hours or product mix.
Two or three inspection cycles of this record will tell you more about the right interval than any general rule. It also gives a supplier a concrete picture if you later need to discuss rail wear or a replacement order.
The short version. Wipe, feel, listen and look at the five items on every visit; adjust the frequency by environment and duty cycle; keep lubrication in the routine as a condition check; and write down what you found so the replacement decision arrives early enough to plan for it. Confirm all specific values — grease quantity, torque, re-lubrication points — in the supplier's manual and datasheet for the rail and carriage you are running.